Printed circuit board design used to be a mysterious process that involved large companies, a team of engineers, and a high-priced middleman who could set up an arrangement with a manufacturer overseas. Today, many of the barriers to entry have been broken down, and printed circuit boards are affordable, with low minimum orders.
Design softwares are now available to anyone with an inclination to learn, and people are ordering their own printed circuit boards for a wide variety of projects and companies.
Startups often have humble beginnings, and you no longer have to have an enormous budget to create the next big hardware company; all you need is a great idea.
There are many resources for PCB design online, from instructional videos to complete step-by-step written guides. When you add to that how inexpensive it is to manufacture printed circuit boards, the possibilities become limited only by your imagination and drive. When creating a new product for a hardware startup, the steps for designing a new PCB are always essentially the same.
1. Determine Your Overall Budget
The cost of creating new printed circuit boards has plummeted in the last decade, but a budget is still essential to creating the right design. Although the cost has come down, it is easy for costs to quickly add up with a huge variety of available components, materials and choices.
Before you begin the first draft of your PCB design, decide on a budget with a cushion that keeps you protected in case of any unplanned issues. Having a budget that is too tight can make or break your project with a single unexpected expense.
If you’re inexperienced when it comes to designing printed circuit boards, factor in the cost of any software, education, and hardware that you need to begin designing the perfect printed circuit board for your startup.
2. Make the First Draft of Your PCB Schematic
If you need time to learn your printed circuit board design software, you should get the hang of the basics before attempting the first draft of your schematic. When you’re able to begin working on the PCB design for your project, you will want to make it as simple as possible.
Once your design doesn’t have any errors when run through a simulation, you can begin to play around with different component additions and placements. Many people create multiple design options so that they can compare their overall performance, cost, and effectiveness.
3. Create a List of Components and Materials Your PCB Design Requires
Once you have your budget and schematic, you can make your list of required materials and components that your PCB design needs. You multiply this list by the number of printed circuit boards you intend to order so that you can factor in any potential price breaks. High-volume orders often get discounts on raw materials.
The list of itemised materials and components is called the bill of materials (BOM). With your bill of materials, you can quickly see where you can cut costs or upgrade components. This makes staying within your budget much easier.
Printed circuit boards are always manufactured in increments of two layers. If your board needs more than two layers to perform its function, you will need to increase the layer count by two, making it a 4 layer board. If 4 layers is not enough you will need a 6 layer board and so on.
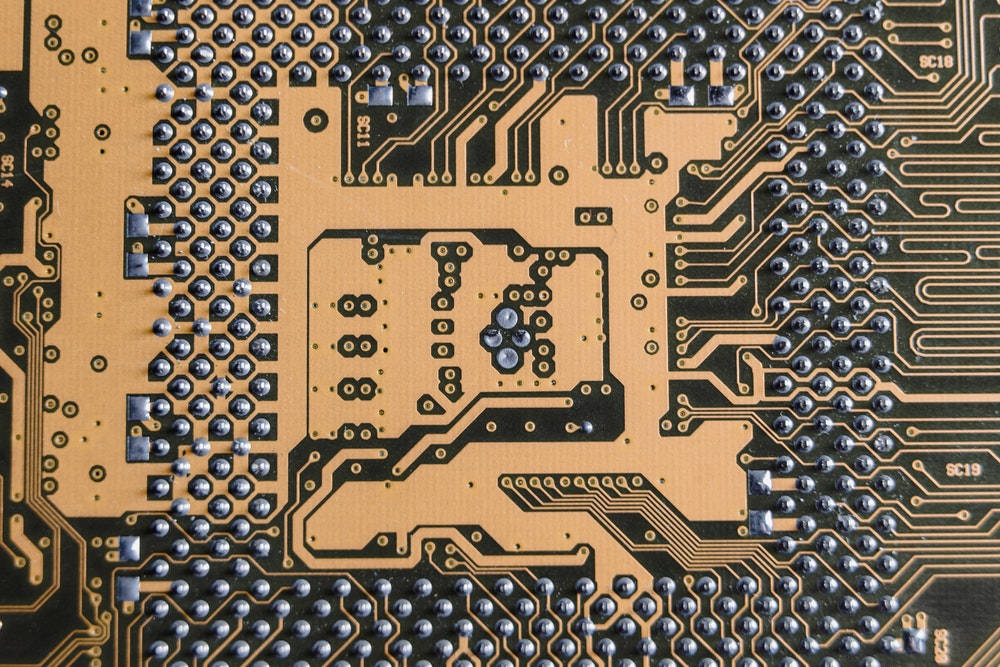
Creating Printed Circuit Board
4. Fine tune Your PCB Design
After you have everything roughly planned out, you will be able to fine tune your design schematic and layout, so that you can make it optimised for manufacturing. Spacing, temperature management, wiring direction and angles, and all other details of your design should be scrutinised to ensure your printed circuit board design is ready for manufacturing.
5. Make Sure Your Design Doesn’t Have Errors During Your Simulations
Although you have probably been running your PCB design through computer simulations as you go, always run a final check for errors before you send it off to the manufacturer. Finding and correcting circuit errors as early as possible saves a lot of time and headaches, since one small error can multiply and spread into something much more complex.
Newer PCB design software usually identifies common errors, and gives you tips on how to fix them. If your schematic is throwing errors that you are unable to fix, you will not be able to manufacture your PCBs, so they are incredibly important to correct.
6. Save Your PCB Design as a Gerber File
You will need to save the final draft of your design as a Gerber file, which is the industry standard used by PCB manufacturers. You will submit your printed circuit board’s Gerber file, as well as your bill of materials to your PCB manufacturer.
7. Remember that Your PCB Manufacturer is a Valuable Resource
Printed circuit board manufacturers have an immense amount of experience, and are a great resource for your questions and design concerns. They can give you advice that comes from years of time spent working in the industry. Keeping a good working relationship with your PCB manufacturer becomes more and more important as your hardware startup grows. It keeps you more informed and up-to-date on what is happening with your projects every day.
About the Author
Arthur Weng is one of four Co-founders and Engineering Manager of Gerber Labs, an Orange County based engineering startup that is currently rolling out a platform that makes custom printed circuit boards (PCB’s) accessible to electrical engineering students, hobbyists and small businesses.